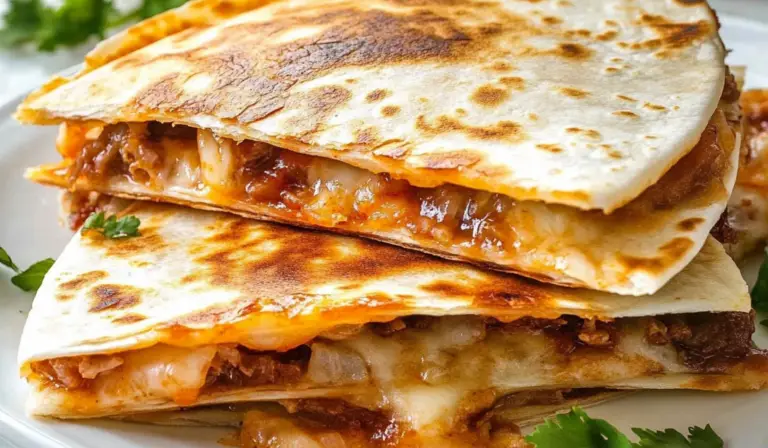
There’s something truly satisfying about biting into a crispy tostada piled high with fresh toppings. I remember the first time I made tostadas at home, I was skeptical that baking the shells would give the same crunch as frying. However, after one attempt, I was hooked. Not only was it healthier, but it was also far less messy. Since then, baked tostadas have become a staple in my kitchen, perfect for quick weeknight dinners, casual get-togethers, or even a solo meal when I want something flavorful with minimal effort.
Print10-Minute Oven-Baked Tostadas: A Quick and Healthy Twist on a Classic Favorite
🌶️✨ Craving tostadas but want a healthier option? Try these 10-Minute Oven-Baked Tostadas! 🔥 Crisped to perfection in the oven, they’re light, crunchy, and perfect for piling on all your favorite toppings! 🥑🧀 Easy, beginner-friendly, and absolutely delicious! Who’s making these tonight? 😍
#BakedNotFried #EasyMexicanRecipes #TostadaTime #CrispyAndHealthy #SimpleAndTasty #QuickMealFix #MexicanFlavors #FreshAndDelicious #HomeCookedGoodness #FoodieLife
- Prep Time: 5 minutes
- Cook Time: 8 minutes
- Total Time: 13 minutes
- Yield: 6 servings
Ingredients
- 6 corn tortillas
- 1 tablespoon canola oil (or any neutral oil) or cooking spray
- A pinch of salt
- Your favorite tostada toppings:
- Refried beans
- Shredded or ground chicken
- Seasoned ground beef
- Lettuce
- Cheese (cheddar, cotija, or Monterey Jack)
- Sour cream
- Diced tomatoes
- Salsa
- Guacamole
Instructions
Step 1: Preheat the Oven
Set your oven to 400°F (200°C). Line a baking sheet with foil for easy cleanup. If you have a wire rack, place it on top of the baking sheet to allow for better airflow, which will make the tostadas extra crispy.
Step 2: Arrange the Tortillas
Lay the tortillas flat on the prepared baking sheet. Make sure they do not overlap to ensure even baking. If your sheet doesn’t fit all six tortillas, you can bake them in batches or use two sheets, rotating them halfway through the cooking time.
Step 3: Brush with Oil and Season
Using a pastry brush or the back of a spoon, lightly coat both sides of each tortilla with oil. If you prefer a lower-fat version, a light spray of cooking oil will work just as well. Sprinkle a pinch of salt over each tortilla for added flavor.
Step 4: Bake the Tortillas
Place the baking sheet in the preheated oven and bake for about 8 minutes. Halfway through, use tongs to flip each tortilla so that they crisp up evenly. If using a wire rack, you can skip flipping.
How to Know They’re Ready: The tortillas should be golden brown and crisp when done. If they are still slightly soft when you remove them from the oven, don’t worry—they will continue to firm up as they cool.
Step 5: Cool and Store (If Needed)
Transfer the baked tostadas to a paper towel-lined plate to cool slightly before adding toppings. If you are making them in advance, allow them to cool completely and store them in an airtight container at room temperature for up to a week.
Notes
How to Keep Tostadas Crispy
- If you live in a humid area, store tostadas in a sealed container with a paper towel inside to absorb excess moisture.
- If they start to lose their crunch, reheat them in the oven at 350°F for a few minutes.
Preventing Soggy Tostadas
- To avoid a soggy base, spread a layer of refried beans on the tostada before adding toppings. This creates a barrier that keeps ingredients like tomatoes or salsa from soaking through.
- Add wet ingredients, such as salsa and sour cream, just before serving.
Quick Protein Preparation
- If using shredded chicken, you can cook and season it in advance for easy meal prep. A rotisserie chicken works great for convenience.
- For ground beef, season it with a mix of cumin, garlic powder, chili powder, and salt while browning for an extra flavorful topping.
Substituting Kitchen Tools
- If you don’t have a pastry brush, use a folded paper towel dipped in oil to lightly coat the tortillas.
- No baking sheet? Place the tortillas directly on the oven rack, but be sure to check them frequently to prevent burning.
For beginner cooks, this recipe is ideal. It requires only a handful of ingredients, takes just 10 minutes in the oven, and offers plenty of flexibility for toppings. Whether you prefer shredded chicken, seasoned beef, or a simple vegetarian version with refried beans, you can easily customize these tostadas to your taste. Plus, by baking the tortillas instead of frying them, you reduce excess oil while still achieving a crispy texture.
Let’s dive into how you can make your own homemade tostadas in just a few simple steps.
Ingredients and Preparation
Ingredients
- 6 corn tortillas
- 1 tablespoon canola oil (or any neutral oil) or cooking spray
- A pinch of salt
- Your favorite tostada toppings:
- Refried beans
- Shredded or ground chicken
- Seasoned ground beef
- Lettuce
- Cheese (cheddar, cotija, or Monterey Jack)
- Sour cream
- Diced tomatoes
- Salsa
- Guacamole
Alternative Ingredient Options
- Tortillas: While corn tortillas are the traditional choice for tostadas, you can also use whole wheat tortillas for a slightly different texture and flavor.
- Oil Options: Instead of canola oil, you can use avocado oil or olive oil for a healthier alternative.
- Protein Variations: Swap out the beef or chicken for grilled shrimp, black beans, or sautéed mushrooms for a vegetarian option.
- Dairy-Free: If you’re avoiding dairy, opt for plant-based cheese or simply leave it out and load up on fresh vegetables and avocado.
Step-by-Step Instructions
Step 1: Preheat the Oven
Set your oven to 400°F (200°C). Line a baking sheet with foil for easy cleanup. If you have a wire rack, place it on top of the baking sheet to allow for better airflow, which will make the tostadas extra crispy.
Step 2: Arrange the Tortillas
Lay the tortillas flat on the prepared baking sheet. Make sure they do not overlap to ensure even baking. If your sheet doesn’t fit all six tortillas, you can bake them in batches or use two sheets, rotating them halfway through the cooking time.
Step 3: Brush with Oil and Season
Using a pastry brush or the back of a spoon, lightly coat both sides of each tortilla with oil. If you prefer a lower-fat version, a light spray of cooking oil will work just as well. Sprinkle a pinch of salt over each tortilla for added flavor.
Step 4: Bake the Tortillas
Place the baking sheet in the preheated oven and bake for about 8 minutes. Halfway through, use tongs to flip each tortilla so that they crisp up evenly. If using a wire rack, you can skip flipping.
How to Know They’re Ready: The tortillas should be golden brown and crisp when done. If they are still slightly soft when you remove them from the oven, don’t worry—they will continue to firm up as they cool.
Step 5: Cool and Store (If Needed)
Transfer the baked tostadas to a paper towel-lined plate to cool slightly before adding toppings. If you are making them in advance, allow them to cool completely and store them in an airtight container at room temperature for up to a week.
Beginner Tips and Notes
How to Keep Tostadas Crispy
- If you live in a humid area, store tostadas in a sealed container with a paper towel inside to absorb excess moisture.
- If they start to lose their crunch, reheat them in the oven at 350°F for a few minutes.
Preventing Soggy Tostadas
- To avoid a soggy base, spread a layer of refried beans on the tostada before adding toppings. This creates a barrier that keeps ingredients like tomatoes or salsa from soaking through.
- Add wet ingredients, such as salsa and sour cream, just before serving.
Quick Protein Preparation
- If using shredded chicken, you can cook and season it in advance for easy meal prep. A rotisserie chicken works great for convenience.
- For ground beef, season it with a mix of cumin, garlic powder, chili powder, and salt while browning for an extra flavorful topping.
Substituting Kitchen Tools
- If you don’t have a pastry brush, use a folded paper towel dipped in oil to lightly coat the tortillas.
- No baking sheet? Place the tortillas directly on the oven rack, but be sure to check them frequently to prevent burning.
Serving Suggestions
Topping Ideas
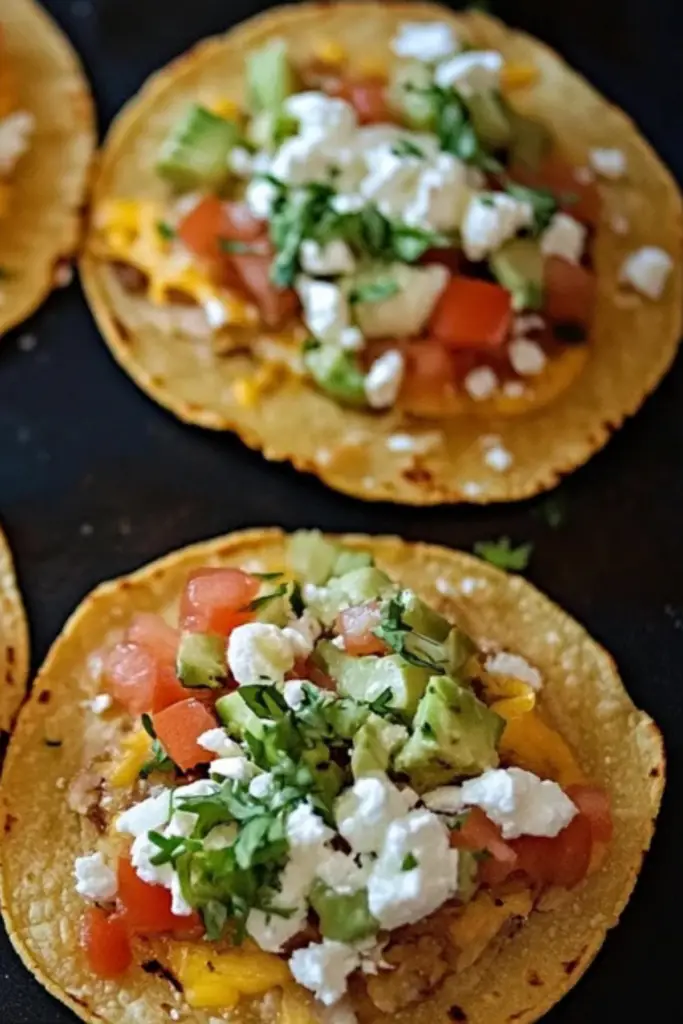
One of the best things about tostadas is their versatility. Here are a few delicious combinations to try:
- Classic Chicken Tostada
- Base: Refried beans
- Protein: Shredded chicken
- Toppings: Shredded lettuce, diced tomatoes, shredded cheese, and sour cream
- Beef and Avocado Tostada
- Base: Refried beans or mashed avocado
- Protein: Seasoned ground beef
- Toppings: Sliced avocado, chopped cilantro, crumbled cotija cheese, and a squeeze of lime
- Vegetarian Black Bean Tostada
- Base: Mashed black beans
- Toppings: Diced bell peppers, shredded cabbage, crumbled feta cheese, and a drizzle of salsa verde
- Spicy Shrimp Tostada
- Base: Guacamole
- Protein: Grilled shrimp tossed in chili powder
- Toppings: Pickled red onions, shredded lettuce, and a squeeze of fresh lime
Side Dishes to Serve with Tostadas
Pair your tostadas with these simple side dishes to create a complete meal:
- Mexican Rice: A flavorful side made with tomatoes, garlic, and spices.
- Charro Beans: A hearty dish of pinto beans simmered with tomatoes, onions, and cilantro.
- Grilled Vegetables: Zucchini, bell peppers, and onions grilled with a touch of lime and seasoning.
- Fresh Fruit Salad: A refreshing mix of mango, pineapple, and watermelon with a hint of lime.
Storage Tips for Leftovers
- Tostada Shells: Store in an airtight container at room temperature for up to a week.
- Toppings: Keep proteins and fresh toppings separate in the refrigerator to maintain their freshness.
- Assembled Tostadas: Best enjoyed fresh, but if you need to store them, place them in an airtight container in the fridge for up to a day. Reheat in the oven to restore crispiness.
Conclusion
Homemade oven-baked tostadas are an easy, delicious, and healthier alternative to the traditional fried version. This simple recipe allows you to create a crispy base that pairs well with countless toppings, making it a go-to meal for any occasion. Whether you’re preparing a quick weeknight dinner or looking for a fun dish to serve at gatherings, these tostadas are a great choice.
Now that you’ve got the basics down, it’s time to get creative. Try different toppings, experiment with flavors, and make this recipe your own. If you give this recipe a try, I’d love to hear about your experience. Leave a comment below and share your favorite tostada toppings. Happy cooking!
